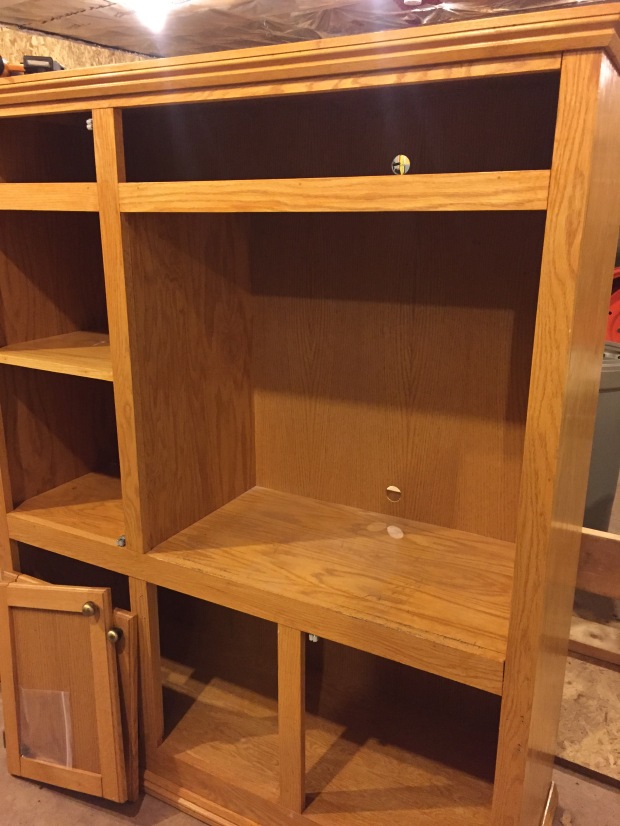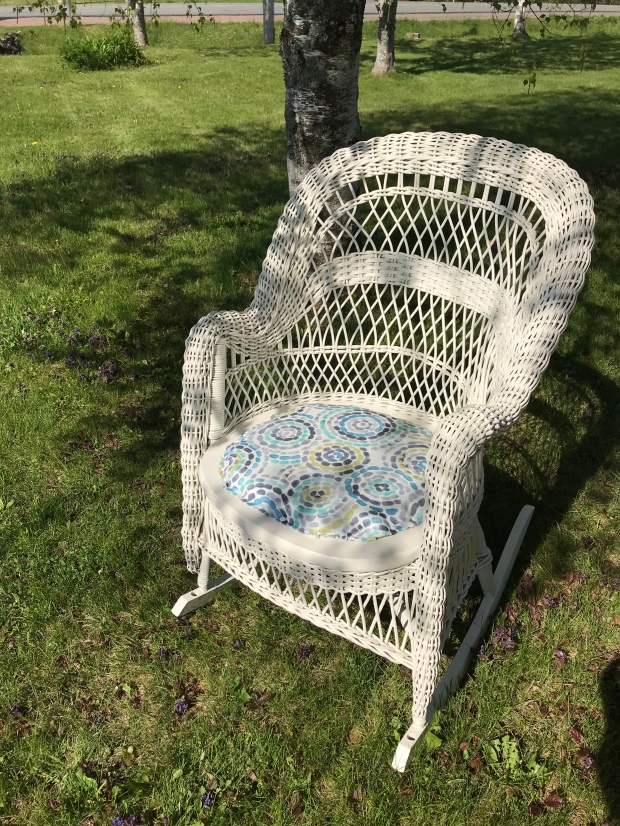
This little gem has been cluttering up the garage for too long.The upholstery was dated, and the white wicker desperately needed a spray paint refresh. It almost got donated, but with two university aged daughters, I suspected it would find a new place to rest it’s legs.


With a sunny porch in a new apartment awaiting it’s arrival, I ventured off to the fabric store yesterday. A floral print was requested, but it was tough to find a floral small enough to look right on such a small cushion. This bright print resembled flowers, and was heavy enough according to the gal cutting the fabric. I also picked up another piece of foam, and some white upholstery nails.

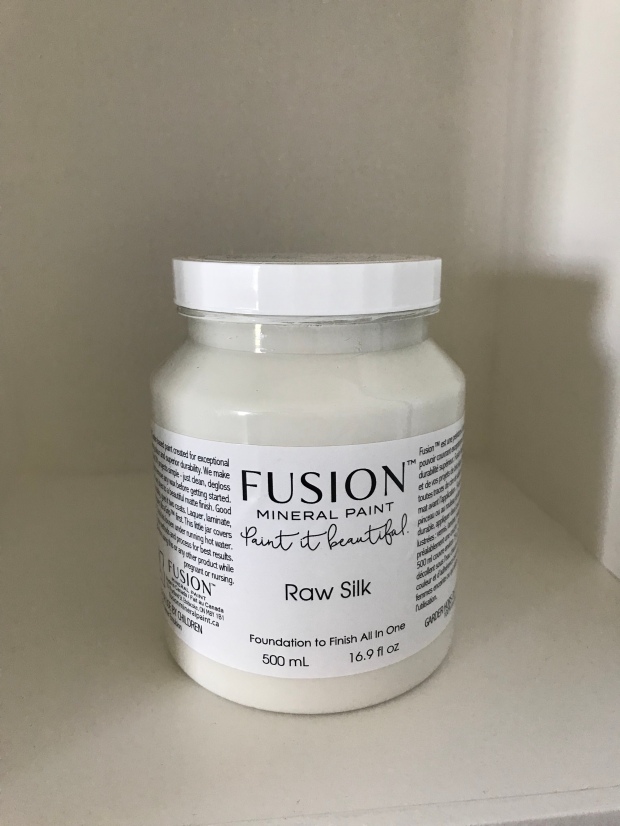
Starting with the chair upside down, I got to work with the spray paint. I chose an heirloom white, and had picked up four cans……….nothing worse than having to make a trip back to the store! I figured it would take at least two good coats. I took my time, and was lucky enough to get away with one coat…….and one can! The can says it’s made with “double cover” technology, and I guess it was right. But also, I was not changing colour, and wicker can be tricky to get good coverage…….you need to really look at the piece from all angles.

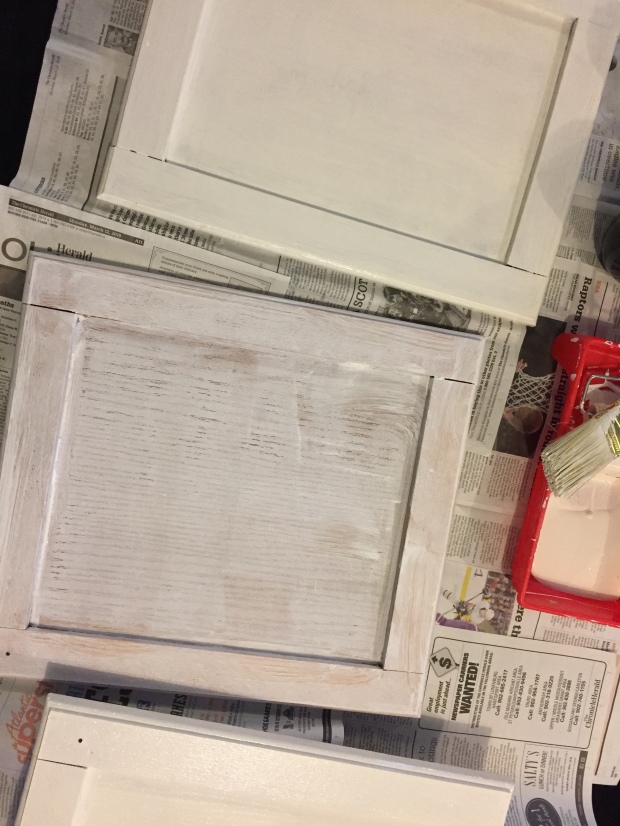
While the paint was drying, I cut the foam with heavy scissors. I then cut the fabric, and pinned the fabric on the foam with safety pins (I’m sure I would have hurt myself with straight pins…….I am so out of my comfort zone with fabric!) After several trials, once I was sure I could make it work, I trimmed the fabric to minimize the bulk on the corners. This was my first time working with upholstery of any kind, so I knew it was going to be amateur.


I planned to use a rubber mallet to hammer in the upholstery nails, but even in the freshly cleaned garage I could not find it. After a quick Pinterest search, I added felt furniture pads to my hammer…….voila! Thanks to Amanda in Texas for this tip!

Starting at the back of the cushion, the first couple of nails went in nicely. I nailed two at the back of the cushion, then two at the front before I went to the sides. Make sure the fabric is taut without stretching it. If you’re hammering straight into wood, use a regular nail to start a hole for the upholstery nail…….a tip the gal at the fabric store gave me. After bending a few of the upholstery nails, I was able to get better at this, but glad I picked up extra!

The corners were tricky, and working with a bulky fabric made it more difficult. But I think with practice (or patience!), I could get better.

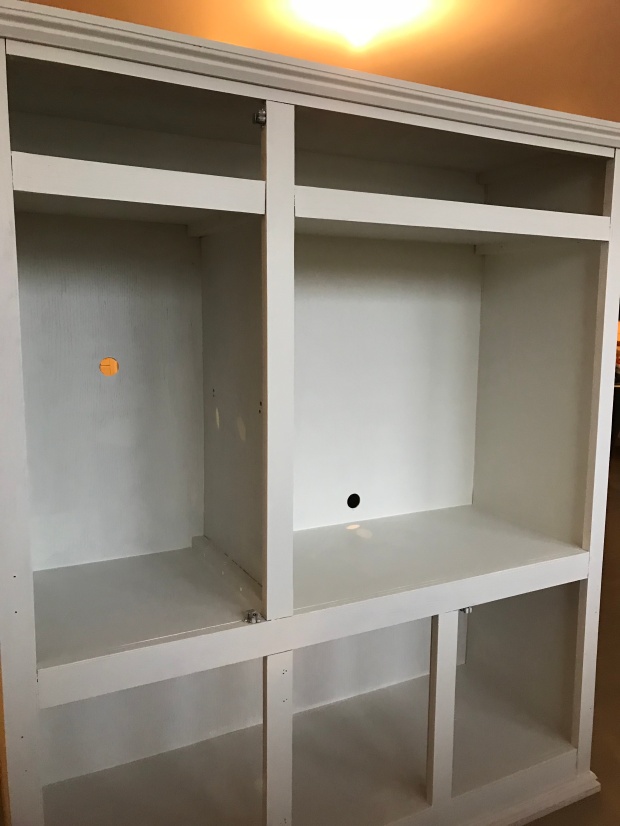
Overall, I was thrilled with the outcome! I think the chair turned out pretty good. A sunny porch is waiting……